

Okay — so you want to know how to care for your sourdough starter. Let’s really talk about how to care for your sourdough starter without overthinking it.
I’ll be straight with you: when I started, I genuinely thought mine was trying to kill me. I’d open the jar and get hit with this… funky, vinegary stench that made me question all my life choices. I remember standing there thinking, “Is this even safe to eat? Or did I just invent penicillin in my kitchen?”
Honestly, it’s a little weird at first. There’s this whole ritual of feeding it like it’s a living thing (because, well, it is). You’ll read ten different “rules” online and get conflicting advice. Some people talk about their starter like it’s their child. Others practically neglect it in the back of the fridge for months.
Here’s the truth no one tells you enough: starters are way harder to kill than you think. You don’t need some pristine, Instagram-worthy routine. Most of the time, they just want a bit of flour and water — and a little patience. That’s it.
Look, you’re going to see weird stuff. Liquid on top? Not a crime. Slow bubbles? Doesn’t mean it’s dead. Mold? Okay, that one you might need to worry about — but we’ll get to that.
This guide is for anyone who’s fed up with confusing advice and just wants to get it right without wasting flour or losing their mind. We’ll talk feeding schedules, storage (so you’re not chained to your starter), and what to do when things get funky.
Because at the end of the day, caring for a sourdough starter shouldn’t be stressful. It’s literally flour and water — and you can absolutely do this. Let’s figure it out together.
How to Feed Your Sourdough Starter (Step by Step)
If you’re nervous about feeding your sourdough starter for the first time, you’re in good company. It seems intimidating — measuring, mixing, worrying you’ll kill it with the “wrong” flour or ratio. But honestly? It’s simpler than most guides make it sound. Let’s break it down without any of that holier-than-thou baker nonsense.
Feeding your starter is really just giving it fresh food so the yeast and bacteria can keep thriving. Think of it like caring for a pet fish, except less tragic if you forget for a day.
What “Feeding” Really Means
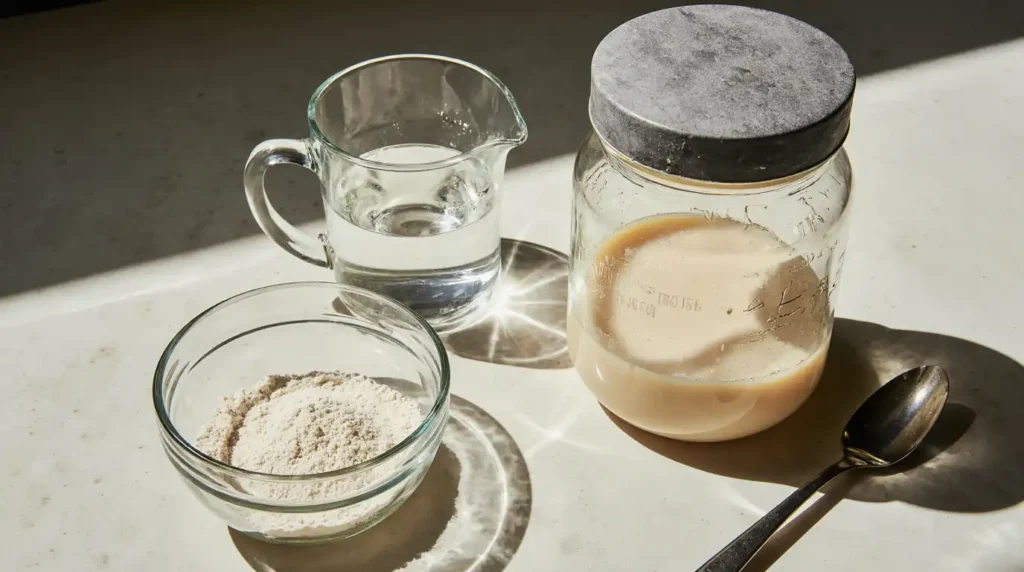
When people say “how to care for your sourdough starter,” feeding is the #1 thing they mean. All it is:
- Removing (or “discarding”) part of the old starter
- Adding fresh flour and water in set ratios
- Mixing it up and letting it ferment
That’s it. No secret handshake required.
Most bakers go with a 1:1:1 ratio by weight (starter : flour : water). For example:
- 50g starter
- 50g flour
- 50g water
Don’t stress about precision. Seriously. A little more or less isn’t going to ruin anything. If you don’t have a scale, use roughly equal volumes — about half a cup of starter, half a cup of flour, and a bit less than half a cup of water.
How Often Should You Feed It?
Here’s where everyone loses their mind over schedules. The truth is:
- If your starter lives at room temperature: Feed it once or twice daily. Warmer kitchens might need two feedings, cooler ones often do fine with one.
- If you store it in the fridge: Once a week is plenty.
That’s it. Really. No need to set an alarm for 4 a.m.
BTW, if you forget a feeding? Don’t panic. Your starter won’t hold a grudge. It might get a layer of hooch (that grayish liquid), but that’s normal. Stir it in or pour it off, feed it, and move on.
Signs of a Healthy Starter After Feeding
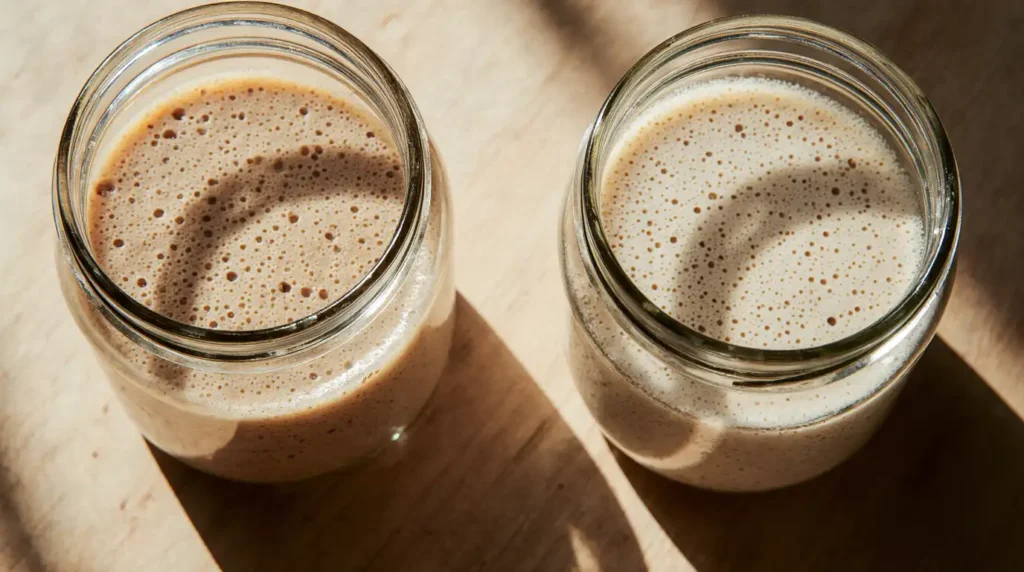
After feeding, you want to see:
- Bubbles — a lot of them, big and small
- Doubling in size within 4–12 hours (temperature affects this)
- Pleasantly tangy, yeasty smell — think fruity vinegar or fresh beer
If it’s not doing these things? Doesn’t mean it’s dead. It might just need warmer temps, more frequent feedings, or a bit more time.
Quick Troubleshooting During Feeding
You’ll eventually run into something weird. Everyone does. Here’s the short version:
- Liquid on top (hooch): Normal. Stir or pour off.
- Slow to rise: Could be cold, underfed, or just young. Be patient.
- Pink or orange streaks: Sorry — toss it. That’s bad mold.
- Smells like acetone or nail polish remover: Needs more frequent feeding.
Don’t overthink it. Starters want to live.
FAQ: How Often Should I Feed My Starter If I Bake Weekly?
Short answer: Keep it in the fridge and feed it once a week.
If you plan to bake, take it out a day or two before, give it 1–2 room-temp feedings to get it active. That’s all. No complicated schedules, no need to waste flour feeding daily if you’re not baking daily.
TL;DR Feeding Steps
- Discard about half the starter.
- Add equal weights flour and water.
- Stir well.
- Leave loosely covered at room temp (or store in fridge if resting long-term).
- Repeat as needed.
If you can remember that, you know how to care for your sourdough starter at the most essential level. Don’t worry about being perfect. Seriously — bread doesn’t judge you.
Common Sourdough Starter Problems (and How to Fix Them)
Let’s talk about the weird, gross, slightly terrifying stuff. Because if you’re learning how to care for your sourdough starter, you will see things that make you question your life choices.
That’s normal.
If it helps, know that every sourdough baker has had that “should I call a hazmat team?” moment. Here’s a real talk guide to the most common starter issues and how to deal with them — without tossing your entire jar in the trash out of panic.
Hooch: That Weird Liquid on Top
First time you see hooch, you might think you’ve ruined everything. Nope.
What is it?
- A thin, often grayish or brownish liquid that forms on top.
- It’s just alcohol from fermentation — starter’s way of saying it’s hungry.
How to handle it?
- Stir it back in for a more sour flavor.
- Or pour it off before feeding for a milder taste.
It’s normal. It’s safe. Don’t let it freak you out. I once thought it meant my starter died overnight — turns out it was just tipsy.
Mold: When to Panic (and When Not To)
Okay, this one’s serious.
Safe signs:
- Gray liquid = normal.
- Slight darkening at edges = fine.
Bad signs:
- Pink, orange, green, or fuzzy growth = mold.
- Weirdly vibrant streaks that weren’t there before.
If you see mold, don’t mess around. It’s not worth saving. Toss it, clean your jar thoroughly, and start over. Trust me — I tried scraping mold off once. It came back with a vengeance.
Sluggish or Inactive Starter
The classic fear: “It’s dead!”
Usually it’s just sulking. Possible reasons:
- Too cold (starters slow down when it’s chilly).
- Not fed often enough.
- New starter that needs time to mature.
- Using bleached flour or poor-quality water (rare but possible).
Fixes:
- Move it somewhere warmer (70–78°F is ideal).
- Feed more frequently for a few days.
- Try using whole wheat or rye for a boost.
Patience matters. Starters can be slow to bounce back but they’re stubbornly alive.
Off Smells: When It’s Funky
Smells are your best diagnostic tool. A healthy starter should smell:
- Pleasantly sour, like yogurt or beer.
- Slightly fruity or vinegary.
Concerning smells:
- Strong acetone/nail polish = underfed.
- Putrid/rotten = suspect contamination (may need to restart if it persists).
Usually you can fix off smells with more frequent feedings and warmer temps.
FAQ: Is Gray Liquid Dangerous?
Short answer: No.
That gray hooch layer isn’t dangerous — it’s just a sign your starter is hungry. Pour it off or stir it back in before feeding. Don’t let it sit for weeks unattended, but you don’t need to panic every time you see it.
Quick Problem-Solving Checklist
- Liquid on top? Normal. Stir or pour off.
- Smells like booze? Feed it.
- No bubbles? Warm it up and feed more often.
- Pink or orange? Toss it and start over.
- Smells putrid? Consider starting fresh.
Here’s the thing: caring for a sourdough starter is part science, part gut instinct. It’ll test your patience, but it’ll also make you weirdly proud the first time you save one from near-death.
Most problems aren’t catastrophic. Don’t overthink. Feed it. Observe. Trust your nose.
How to Store Your Starter for the Long Term
Let’s talk about one of the biggest stressors in how to care for your sourdough starter: what to do when you’re just not going to bake for a while.
I mean, who wants to feed this thing every day if you’re going on vacation? Or you’re just not in the mood to bake for a month? Flour isn’t free, and nobody wants to throw out cup after cup of discard just to keep up appearances.
Good news: starters are surprisingly chill about taking naps. Here’s how to store yours without guilt.
Refrigeration: The Easy Default
This is what most home bakers do. Honestly? It’s what I do 90% of the time.
How to refrigerate:
- Feed your starter like normal.
- Let it sit at room temp for 1–2 hours so fermentation kicks in.
- Pop it in the fridge with a loose lid or breathable cover.
That’s it.
In the fridge, it goes dormant. Feed it once a week if you want it happy. But if you forget for two weeks? It’ll forgive you. You might see hooch (that liquid layer), but it’s not ruined. Just pour it off or stir it in when you feed it.
I’ve personally left mine for over a month. Was it thrilled? No. Was it dead? Also no.
Freezing Your Starter: Pros and Cons
Now, if you want a true break — like months off — you can freeze it.
Pros:
- Zero feeding while frozen.
- Great insurance if you want a “backup” starter.
Cons:
- Slightly weaker when revived.
- May need a few extra feedings to get bubbly again.
How to freeze:
- Feed it first.
- Scoop some into a clean container or freezer-safe bag.
- Label it so you don’t forget what the mystery blob is.
- Freeze.
To use again:
- Thaw in the fridge overnight.
- Start feeding daily at room temp until it’s lively.
Some bakers swear by freezing. Others hate it. Personally? I see it as a solid emergency plan.
Drying Your Starter: The Ultimate Backup
If you’re truly worried about losing your starter (moving, power outages, zombie apocalypse), drying is your best bet.
How to dry it:
- Feed your starter.
- Spread a thin layer on parchment or a silicone mat.
- Let it air-dry completely (a few days, depending on humidity).
- Break into flakes and store in an airtight container.
To reactivate:
- Soak flakes in lukewarm water.
- Feed like a normal starter for a few days until bubbly.
It’s not instant, but it’s nearly fail-proof. I keep a little jar of dried starter in the back of my pantry like a baking doomsday prepper.
FAQ: Can I Forget It in the Fridge for Months?
Short answer: Usually yes.
Look, if you leave it for a couple of months, it’ll be hungry and smell strong (like hooch or even acetone). But most of the time, you can revive it:
- Pour off the hooch.
- Give it a few room-temp feedings.
- Be patient.
If it’s moldy or truly putrid? Sorry — you’ll need to start over. But more often than not, it’ll come back.
TL;DR Storage Options
- Fridge: For weekly bakers. Easy, low maintenance.
- Freezer: For long breaks. Good emergency option.
- Drying: Best for true backups. No maintenance needed.
Look — you don’t have to be chained to your starter. It’s meant to fit your life, not take it over. Whether you bake every day or twice a year, there’s a way to store it that works for you.
How to Revive a Neglected or “Dead” Starter
Let’s get one thing straight before anything else: starters are almost impossible to truly kill.
I know it feels personal when you open the jar and see… well, something that looks like it belongs in a swamp. Maybe there’s a layer of hooch so dark it’s practically motor oil. Or it smells like paint thinner. Or worse.
You’re not alone. I’ve had jars that I forgot at the back of the fridge for months. I was convinced they were done for. But most of the time? With a little patience (and a strong stomach), you can bring them back.
Signs Your Starter Needs Help
First, let’s figure out if it’s worth saving.
Totally normal signs (don’t panic):
- Gray or brown liquid (hooch) on top.
- Strong alcohol or acetone smell.
- Thin texture after neglect.
Red flags (bad news):
- Pink, orange, or green mold.
- Fuzzy patches that look like hair.
- Rancid, truly putrid smell (like rotting meat).
If you see mold or smell something truly foul? Sorry — best to toss it. You can’t safely scrape that off.
But if it’s just ugly, separated, or boozy-smelling? Congrats. It’s salvageable.
Step-by-Step Revival Process
Reviving a neglected starter is basically rehab for microbes. You’re flushing out old waste and giving them fresh food.
Here’s how I do it:
- Pour off any hooch.
- Or stir it in if you want extra sourness — but honestly, I pour it off when reviving.
- Remove any discolored or crusty top layer.
- If there’s dried-out gunk, scrape it off carefully.
- Keep the healthiest-looking bit.
- Even a tablespoon can be enough.
- Feed at a higher ratio.
- Try 1 part starter : 2 parts flour : 2 parts water.
- This “dilutes” any bad byproducts and gives yeast and bacteria room to rebound.
- Stir well.
- You want it smooth, with no dry pockets.
- Leave it at warm room temp (70–78°F).
- Yeast love warmth.
- Repeat feeding daily.
- Discard half, feed fresh.
- Usually takes 2–5 days to get back to full strength.
I’ve had starters that smelled like nail polish on day one turn fluffy and sweet-smelling by day three. Don’t give up too quickly.
Tips to Avoid Future Neglect
Because let’s be honest — life gets busy.
- Store in the fridge if you don’t bake weekly.
- Add a calendar reminder to feed it.
- If you’re really forgetful? Dry some as backup.
It’s better to store it cold or dry than let it starve on the counter for weeks.
FAQ: How Many Feedings Does It Take to Revive a Neglected Starter?
Short answer: Usually 2–5 feedings.
It depends how long it’s been neglected and how warm your kitchen is.
- After 1–2 feedings, you might see bubbles.
- By 3–4, it should double in size reliably.
- Super-neglected starters may need up to a week.
Be patient. It’s a living culture, not a light switch.
TL;DR Revival Plan
- Assess (is it moldy or just neglected?).
- Pour off hooch.
- Scrape crust if needed.
- Save a healthy scoop.
- Feed generously.
- Keep warm and repeat daily.
Don’t beat yourself up if you neglected it. Starters are tough. They want to live. Reviving them is part science, part faith — and honestly, kind of rewarding. There’s something satisfying about nursing that sad, forgotten blob back into a lively, bubbly culture.
And hey — if it truly dies? It’s just flour and water. You can always start again
Conclusion
If you’ve made it this far, give yourself some credit. Seriously. Learning how to care for your sourdough starter isn’t just about following steps — it’s about getting comfortable with a living, changing thing.
It’s messy. It’s unpredictable. Some days it’ll look like a science experiment gone wrong, and other days it’ll rise like a perfect, bubbly dream. And honestly? That’s the point.
Caring for a sourdough starter teaches patience. It forces you to slow down, pay attention, and trust your senses over rigid rules. You’ll have moments of frustration (like scraping dried starter off the counter at midnight) and moments of real joy (cutting into that first loaf you baked yourself).
Don’t let mistakes scare you off. Every “failed” feeding, weird smell, or unexpected hooch layer is just part of the learning curve. Starters are forgiving — more forgiving than most of us are with ourselves.
So feed it when you can. Store it when you need a break. Revive it when you forget about it. Experiment without fear. And most importantly? Keep baking.
If you’re curious about pushing your sourdough skills even further, check out our other guides on shaping, baking schedules, and advanced hydration doughs.
Because in the end, this is supposed to be fun. Flour, water, salt, time — and a little bit of magic. Go make something beautiful.
If you’re ready to bake, see our Easy Sourdough Bread Recipe.